
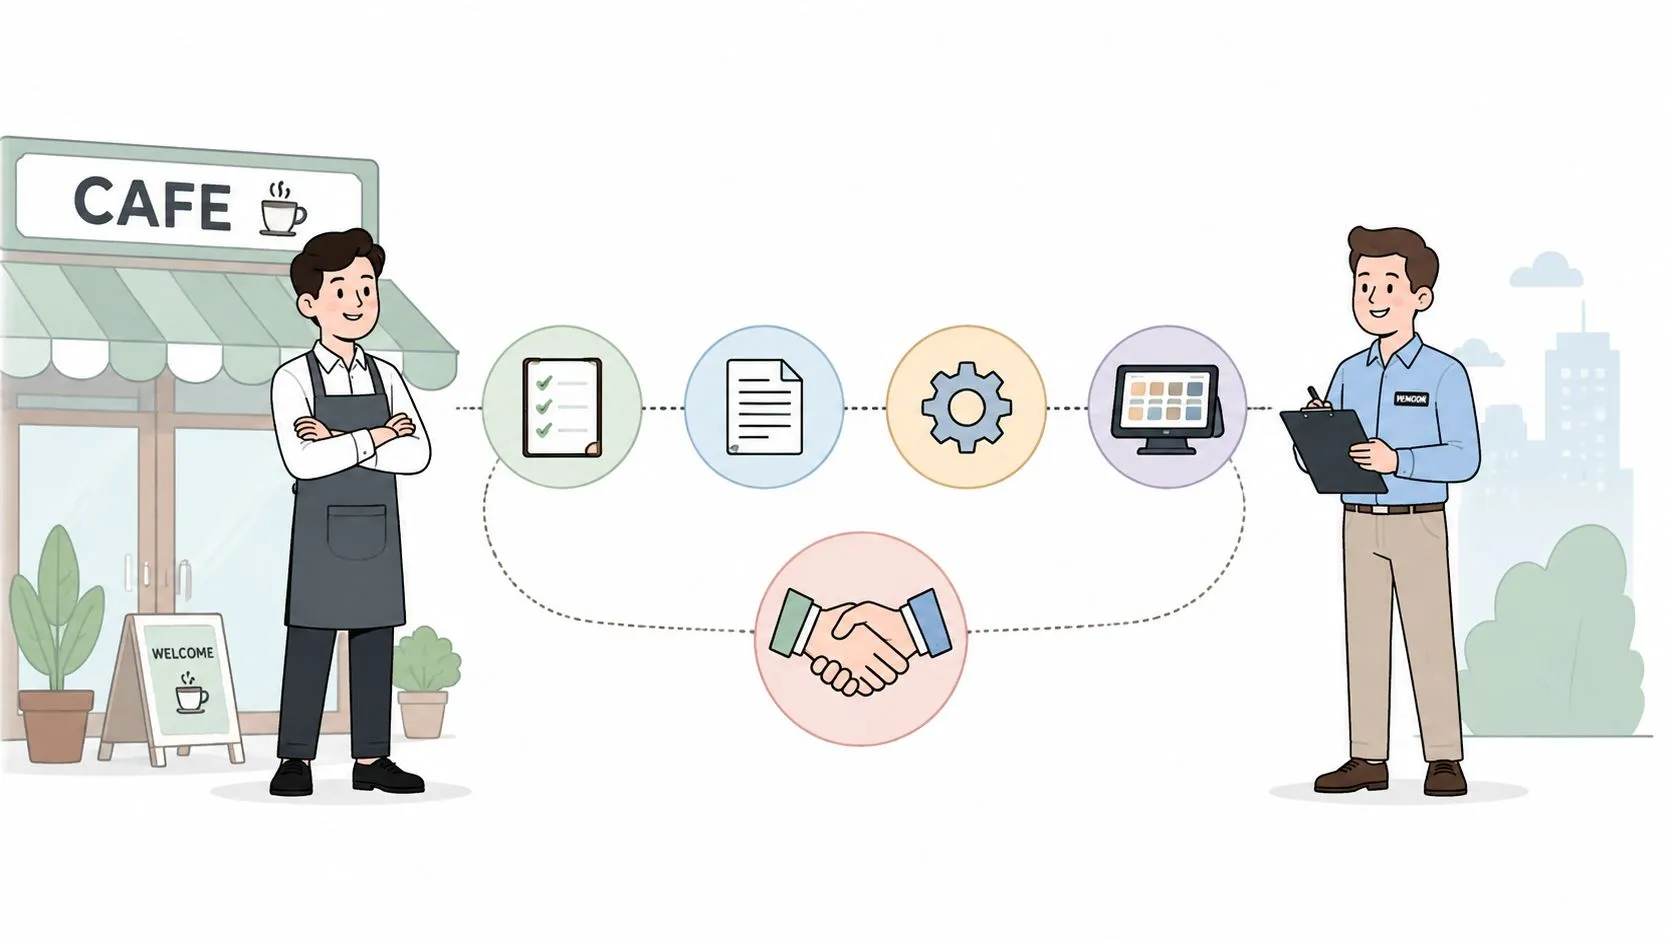
Vendor onboarding for a restaurant is the process of collecting, verifying, and approving a third-party technology vendor so its system can safely send orders, payments, or data into the restaurant’s existing tools. In a 2017 compliance survey, 57% of respondents said onboarding a new vendor took 10 to 30 minutes, but the work still involved tax validation, documentation, and approval controls, not simple data entry.
For a Clover-based pizzeria adding DoorDash, onboarding starts before the first delivery order appears. The owner needs to know who the vendor is, what access it needs, how its contract works, and whether a DoorDash order will arrive in Clover with the right items, modifiers, taxes, and payment details. A tablet can light up quickly, but a reliable connection takes more than turning on an account.
What Vendor Onboarding Means for a Restaurant
Vendor onboarding is a risk-control gate before access, payment, or live transactions begin. In restaurant operations, that means collecting business and payment information, checking compliance documents, approving the relationship, configuring the technical connection, and confirming that staff can use the result during service.
A restaurant owner usually sees only the practical outcome. A DoorDash order should move into the same Clover or Square workflow the team already uses, reach the kitchen in a readable format, and remain available for accurate reconciliation. Behind that outcome, several teams may need to confirm the vendor’s legal identity, tax details, banking instructions, data permissions, contract terms, and support contacts.
The vendor onboarding and order management overview helps separate two ideas that operators often combine. Onboarding approves the relationship. Integration controls the data flow. Both need to work before the first real order is allowed through.
A useful restaurant onboarding record should answer four questions:
- Who is the vendor? Confirm the legal business identity, tax information, insurance, and responsible contacts.
- What is being approved? Define the service, contract terms, payment process, access requirements, and escalation path.
- How will the systems connect? Check menu mapping, modifier handling, tax rules, order status, refunds, and reporting.
- Who can operate it? Make sure the general manager, kitchen team, and POS administrator understand the new workflow.
That structure protects more than compliance. It protects margin, order accuracy, staff productivity, and the guest experience before revenue starts moving through a new channel.
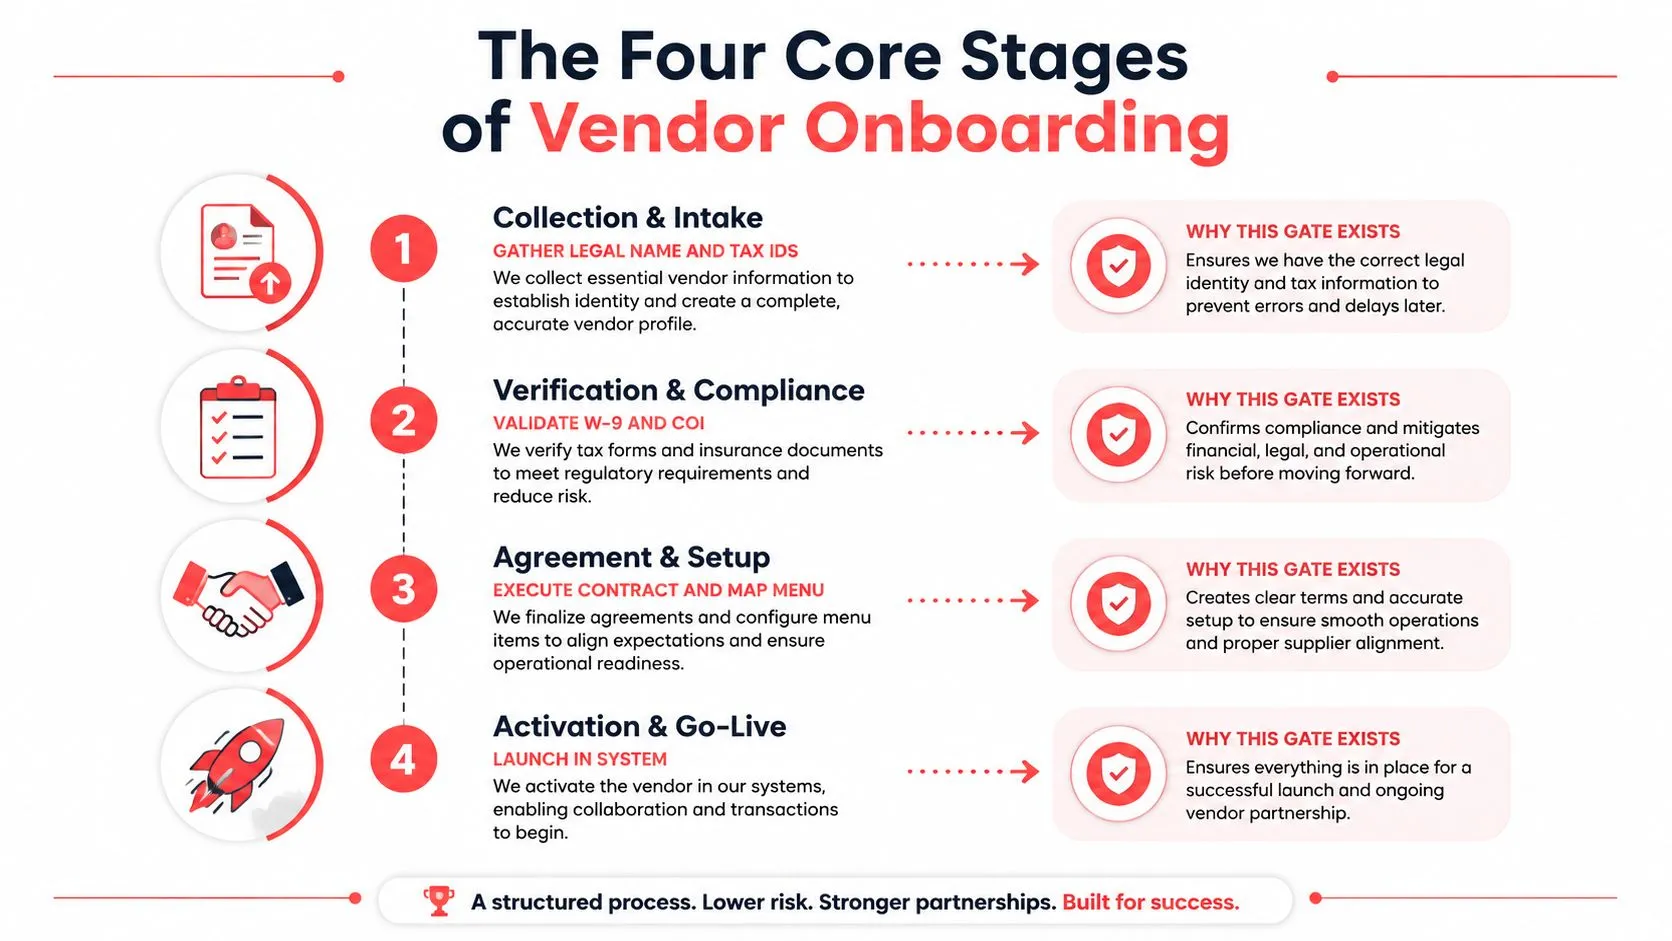
The Four Core Stages of Vendor Onboarding
A practical onboarding process moves through four gates. The order matters because technical setup shouldn’t begin with incomplete business information, and activation shouldn’t happen before the restaurant has tested the connection.
Collection and intake
The first stage creates a complete vendor file. The restaurant collects the vendor’s legal name, tax IDs, business license, W-9 or W-8, insurance certificates, banking details, payment contact, technical contact, and a description of the service.
For technology vendors, the intake should also identify what systems will exchange information. A delivery-to-POS provider may need marketplace accounts, menu information, POS connection details, and an agreed support contact. Missing ownership at this point creates confusion later, especially when a menu question goes to finance or a payment question goes to the kitchen manager.
Verification and compliance
Verification checks whether the information is valid and whether the vendor meets the restaurant’s policy. The 2017 survey found that 61% of respondents used the IRS TIN Match program to validate vendor tax IDs and that 70% said accounts payable handled vendor onboarding or registration, while 43% said purchasing handled it. Those figures show why finance and procurement often share responsibility, even when the restaurant sees onboarding as a software setup task. The survey data and compliance context place tax and payee validation at the center of the process.
Agreement and technical setup
After review, the restaurant finalizes the agreement and configures the connection. For delivery software, this can include menu mapping, modifier matching, tax-table alignment, order-status rules, refund handling, and credential security. The practical principles in UK small business onboarding tips are also useful here, especially the need to make requirements clear and assign responsibility for each handoff.
Read more about the technical side in this guide to point-of-sale integrations. A connection isn’t ready because two accounts can communicate. The restaurant needs to confirm that the exchanged data is usable.
Activation and monitoring
Activation should begin with a controlled launch. The team can test a limited menu or one location, confirm order behavior, review the kitchen ticket, and watch reconciliation before expanding the workflow.
Practical rule: Approve the vendor first, prove the data flow second, and expand only after the restaurant team can handle a real order without improvising.
Who Owns Each Step in the Onboarding Workflow
A small restaurant may have one owner covering finance, operations, and POS administration. That doesn’t remove the need for clear ownership. It makes the ownership map more important because a missed task can otherwise look like everyone’s responsibility.
The operator or general manager should own the business decision and final go-live approval. Finance or accounts payable should control tax forms, banking details, and payment terms. The POS administrator or IT contact should manage credentials, configuration, menu synchronization, and access security. Marketing or digital staff should review menu images, descriptions, promotions, and brand presentation. The kitchen manager should validate ticket flow and train the team.
| Onboarding Stage | Primary Owner | Supporting Roles |
|---|---|---|
| Collection and intake | Finance or accounts payable lead | Operator, vendor contact, POS administrator |
| Verification and compliance | Operator or finance lead | Legal adviser, purchasing, POS administrator |
| Agreement and setup | POS administrator or IT contact | Vendor support, marketing, kitchen manager |
| Activation and go-live | General manager or operator | Kitchen manager, finance, POS administrator |
The table gives every gate one accountable owner. Supporting roles can contribute information, but they shouldn’t leave the approval question unresolved.
The operator’s job is especially important because the business decision includes operational risk. The restaurant manager responsibilities guide is a useful reminder that a manager connects vendor decisions to staffing, service standards, training, and daily execution.
If nobody owns the final sign-off, the vendor may be technically connected but operationally unapproved.
For a single-location restaurant, write the owner’s name beside each stage. For a growing group, name both the local operator and the central systems owner. That simple distinction prevents a menu change at one location from being mistaken for a system-wide approval.
How Delivery Software Onboarding Works in Practice
A restaurant adding DoorDash to a Clover or Square POS usually begins with a request to the delivery integration provider. The owner or general manager identifies the POS, confirms the marketplace account, and provides the contact details needed to configure the connection. The integrator then works with the restaurant’s GM or POS administrator to establish the connection and define what should happen when an order is accepted.
The next step is menu mapping. Each marketplace item needs a matching POS item, including modifier flags such as size, toppings, substitutions, and add-ons. The restaurant also checks tax tables, order types, fulfillment statuses, refunds, and the destination for kitchen tickets.
A normalized POS schema matters because marketplace menus don’t always describe products in the same way. OrderOut maps each marketplace menu to a normalized POS schema, so the Clover or Square record remains the operational source of truth rather than forcing staff to translate every order manually.
Testing before live service
The restaurant should run a test order before approving production traffic. The test needs to confirm that the selected item, modifiers, taxes, order status, and payment information match on both sides. The plan notes call for a 99-cent test ping, but no verified source in the supplied data supports that specific amount, so operators should confirm the test method and amount with their integration provider instead of treating it as a universal rule.
The GM checks the order from the customer-facing marketplace view through to the POS. The kitchen manager checks whether the ticket is readable and whether the team knows what to do with it. Finance checks whether the order can be reconciled with the marketplace payout and restaurant records.
A delivery integration onboarding tutorial can help an operator organize those checks before go-live. The key question is simple: can one accepted DoorDash order move through the restaurant without extra re-entry or an unclear handoff?
What go-live should look like
Once the test passes, a real DoorDash order should appear in Clover or Square as a structured order that staff can confirm and prepare. The team shouldn’t need to copy item names from another tablet, rebuild modifiers, or guess which system contains the current status.
That is the operational purpose of third-party delivery to POS integration. It removes an extra handling step, reduces opportunities for order-entry mistakes, and lets staff keep working in the POS workflow they already know.
Benefits and KPIs That Prove Onboarding Is Working
A vendor can be marked “active” while the restaurant still has operational problems. The better test is whether the connection performs reliably during normal service and whether managers can reconcile orders without manual detective work.
Track the following signals in the POS and delivery dashboards:
- Order acceptance: Review whether accepted marketplace orders reach the POS correctly. Missed or delayed orders point to connection, credential, or status problems.
- Ticket-to-kitchen movement: Check whether a confirmed order reaches the kitchen workflow promptly enough for staff to act without switching systems.
- Modifier accuracy: Compare marketplace selections with the POS ticket. Repeated modifier problems usually indicate mapping or menu-maintenance issues.
- Refunds and voids: Look for refunds or voids linked to incorrect items, missing modifiers, duplicate entry, or failed status updates.
- Manual-entry labor: Ask managers how often employees still re-key delivery orders. A successful onboarding should make that workaround unnecessary.
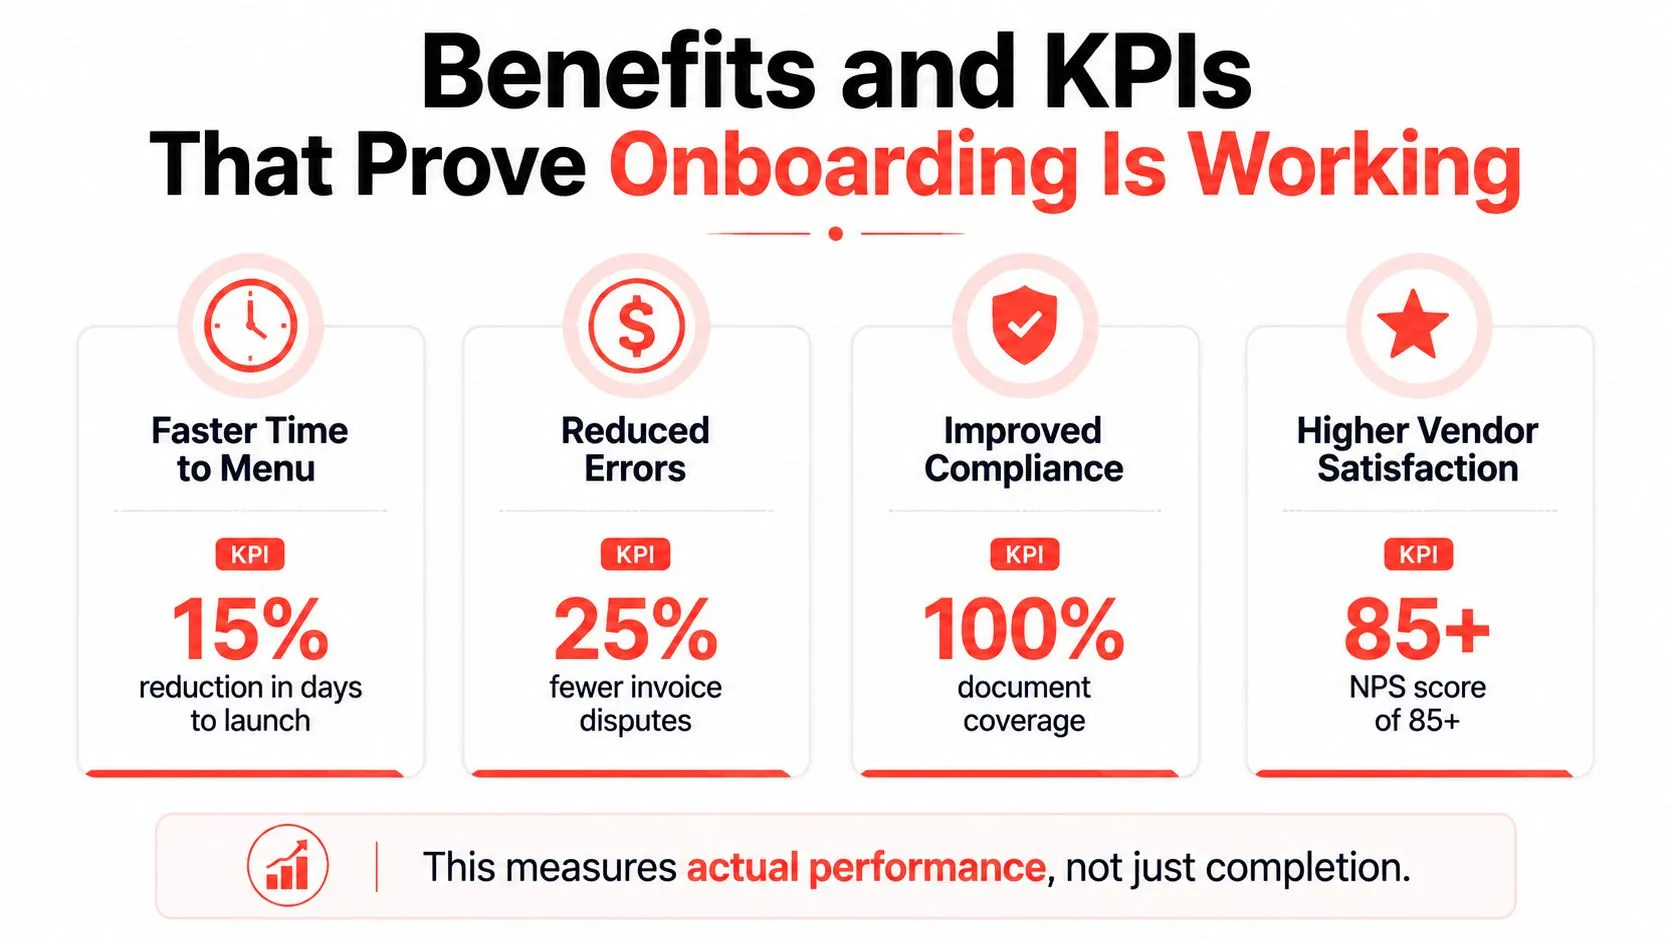
The restaurant should review these signals at regular operating intervals after launch, rather than relying only on the initial test. In the first review, look for obvious mapping and ticket problems. In later reviews, check for menu drift, recurring refunds, reconciliation friction, and staff workarounds.
The restaurant performance metrics guide can help managers build a broader scorecard. The purpose isn’t to chase a single number. It’s to connect onboarding quality with fewer callbacks from confused cooks, cleaner end-of-day reconciliation, and more staff time available for service.
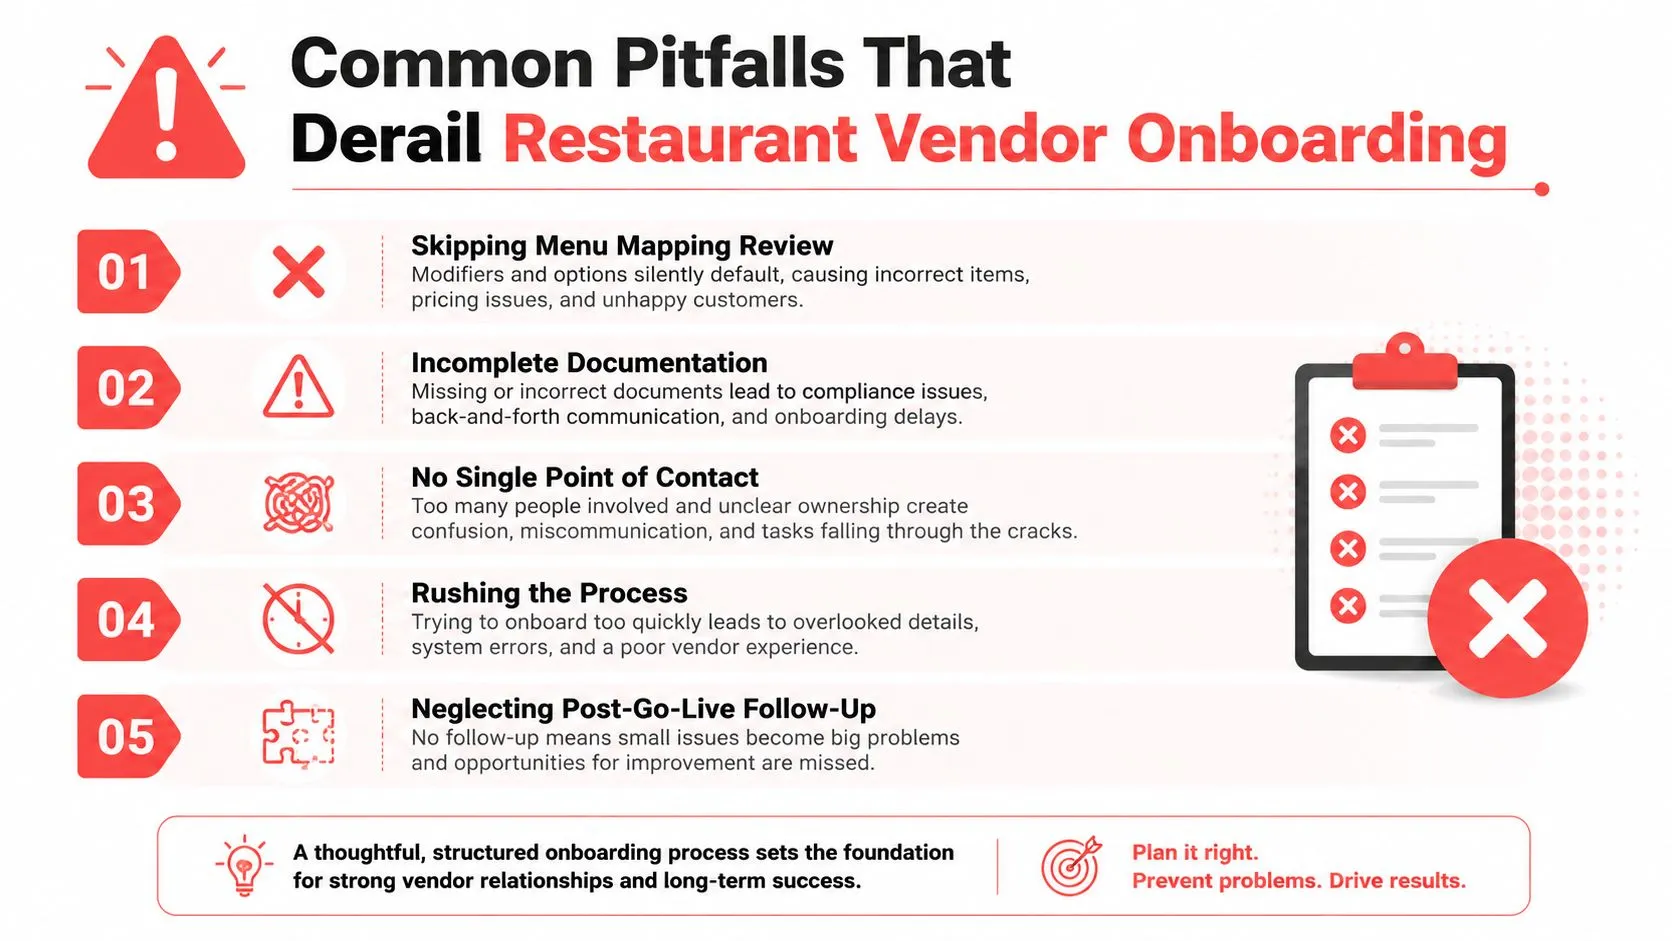
Common Pitfalls That Derail Restaurant Vendor Onboarding
Rushed onboarding usually fails in predictable ways. The restaurant may believe the integration is complete because the accounts are connected, while the actual order flow still contains gaps.
- Skipping menu mapping review: A DoorDash modifier may arrive as plain text instead of a structured choice. The warning sign is a kitchen ticket that forces staff to interpret what the customer selected.
- Ignoring tax-table parity: Different tax settings can create reconciliation questions and incorrect totals. If marketplace and POS totals don’t align, finance should stop the rollout and review the configuration.
- Treating the test order as optional: A first live customer order shouldn’t be the first serious test. A failed item, status, or payment mapping can reach the kitchen before anyone knows where the process broke.
- Neglecting staff training: A correctly configured ticket still fails if cooks and cashiers don’t know how it enters the workflow. Short, role-specific instruction is more useful than giving every employee a technical explanation.
- Skipping post-go-live review: Menus change, modifiers are added, and credentials can expire. Without follow-up, a connection that worked during setup may slowly become unreliable.
The wider integration risk is not limited to one incorrect item. Industry guidance from Silverware POS on common POS integration failure points describes problems involving inconsistent data contracts, timing assumptions, brittle dependencies, payment processing, reporting, loyalty, and reconciliation. For a restaurant owner, that translates into one practical requirement: test how the connection affects the whole order pipeline, not just whether a marketplace account appears connected.
The following video provides another way to review common onboarding mistakes:
A Practical Vendor Onboarding Checklist to Start With
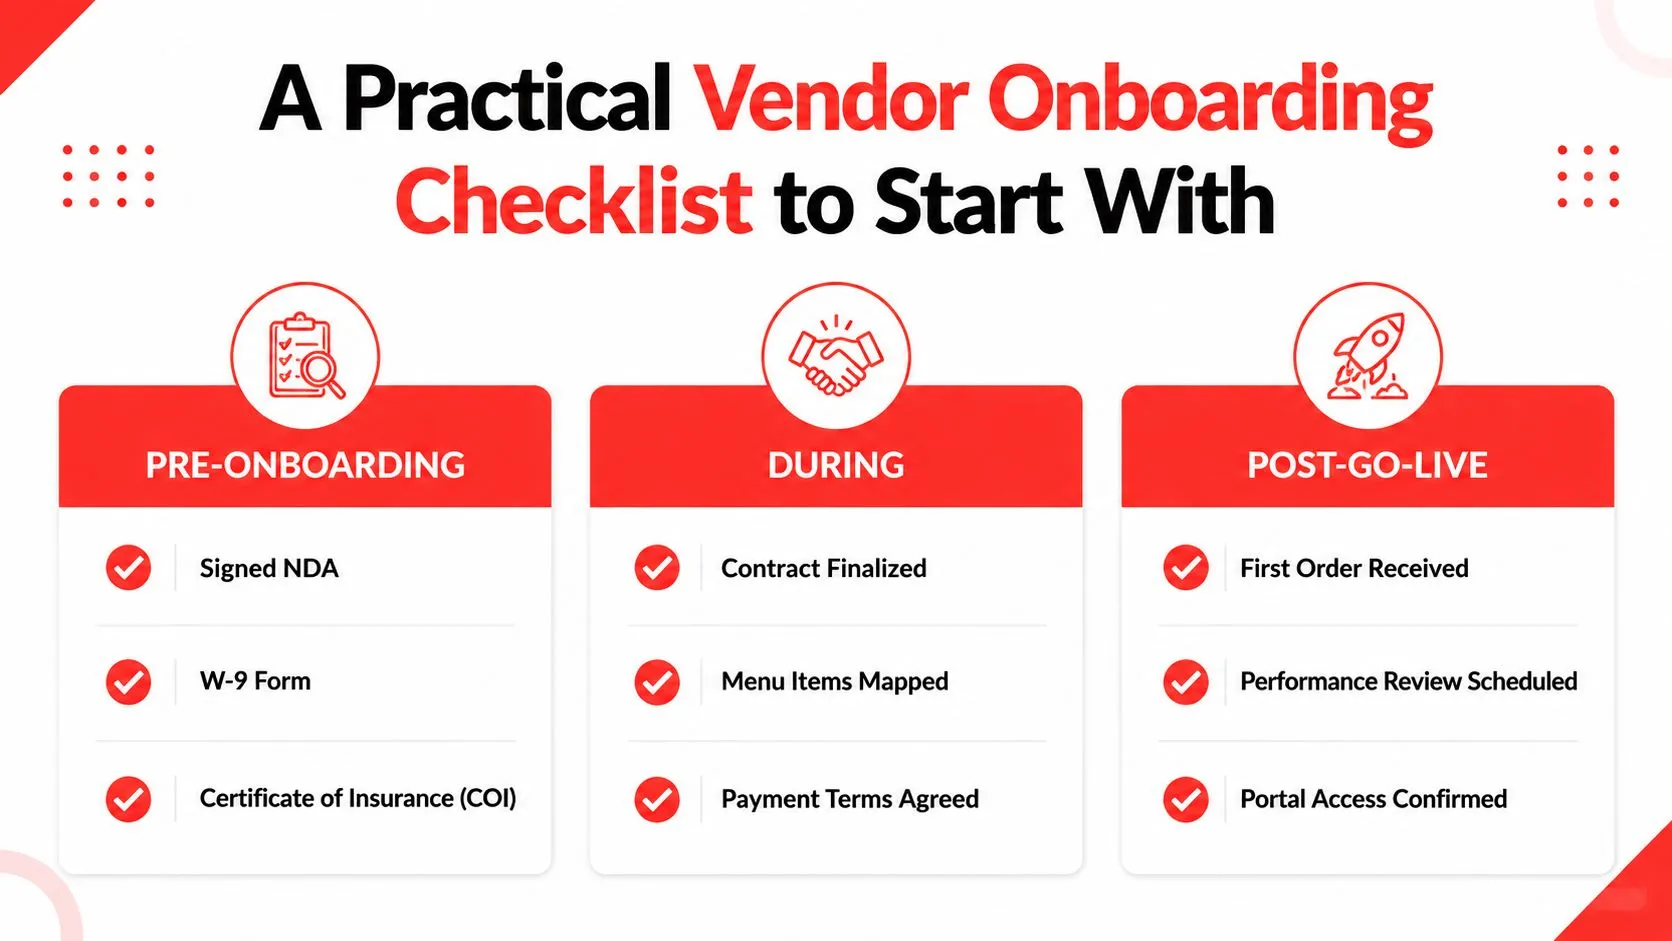
Use this checklist as a working document. Assign one person to each item, attach the relevant record, and don’t approve live orders until the final checks are complete.
Before onboarding
- Confirm the vendor identity: Record the legal business name, business license, tax form, and primary contacts.
- Review payment information: Verify banking details, payment terms, and the finance contact.
- Collect insurance evidence: Save the certificate of insurance if your policy requires one.
- Set the technical scope: Identify the POS, marketplace accounts, menu owner, and support contact.
- Review the agreement: Store the signed NDA or other required contract documents.
During setup
- Complete the POS integration form: Provide the information needed to connect Clover or Square.
- Map the menu: Match items, modifiers, taxes, order types, and refund behavior.
- Run a controlled test: Compare the marketplace order, POS ticket, kitchen output, and payout record.
- Confirm staff instructions: Show the team how to accept, prepare, update, refund, and escalate an order.
- Record approval: Have the GM or operator sign off before live activation.
After go-live
- Review the first real orders: Look for missing modifiers, duplicate entry, incorrect taxes, or unclear tickets.
- Check reconciliation: Compare POS records, marketplace activity, refunds, and payouts.
- Schedule a performance review: Revisit error rates, refund counts, and manual-entry workarounds after launch.
- Confirm support access: Make sure the responsible manager knows where to request help.
- Update the menu process: Assign ownership for future item and modifier changes.
For a restaurant connecting Uber Eats, DoorDash, or Grubhub to Clover or Square, OrderOut can handle the delivery-to-POS connection while the operator focuses on menu accuracy, staff readiness, and the first live orders. OrderOut is free to install on the Clover App Market, and its role is to remove extra delivery tablets and manual re-keying by sending marketplace orders into the POS workflow.
You can install OrderOut from the Clover App Market and begin the restaurant setup there. Square operators can use the OrderOut Square Marketplace listing instead.
Frequently Asked Questions
How long does vendor onboarding take for a delivery app on Clover or Square?
The time depends on document readiness, menu complexity, approval ownership, and the number of systems involved. Manual supplier onboarding benchmarks cited by independent industry material range from 3 to 8 weeks, while automated onboarding can take 2 to 6 days, a potential 60% to 80% cycle-time reduction according to the vendor management automation benchmarks. A restaurant-specific delivery setup may move faster or slower, so confirm the expected process with the provider.
What documents should a restaurant prepare?
Prepare the business license, tax forms such as a W-9 or W-8 when applicable, verified banking details, insurance certificates, and the names of finance, operations, and technical contacts. A vendor may also request an NDA, contract information, marketplace credentials, menu data, or other access details based on the connection.
What’s the difference between vendor onboarding and POS integration?
Vendor onboarding covers the business and compliance approval, including who the vendor is, what it provides, how it gets paid, and what access it receives. POS integration covers the technical data flow, including menu mapping, modifiers, taxes, order statuses, refunds, and kitchen tickets. A restaurant needs both before a delivery channel is ready for live service.
Can vendor onboarding be paused and resumed?
Most structured workflows can be handled in stages, allowing a restaurant to collect documents, pause for review, and return to technical setup later. Ask the provider which records remain saved and which approvals expire before resuming. Don’t activate live orders until the outstanding business and technical checks are complete.
Does OrderOut work with Clover and Square?
OrderOut connects third-party delivery marketplaces such as Uber Eats, DoorDash, and Grubhub with POS systems including Clover and Square. Its delivery-to-POS solution is designed to remove extra tablets and manual re-keying, with marketplace menus mapped into a normalized POS structure.
OrderOut helps restaurants connect Uber Eats, DoorDash, and Grubhub orders directly to Clover or Square, so vendor onboarding ends with a usable POS workflow instead of another tablet for staff to manage. Visit OrderOut to review the delivery-to-POS solution, then start onboarding in the OrderOut dashboard and connect your POS and marketplace accounts.